Showing posts with label Scraperfect. Show all posts

Thursday, July 29, 2021

Guest Designer At ScraPerfect

Hey there scrappy friends!
I was excited when Amy asked me to share a project this month at ScraPerfect! It's been awhile since I have been on the design team there, but I am still using ScraPerfect products and love them!!  I decided to use my 2 favorite ScraPerfect products , the Best Glue Ever  with the No Clog Writing Cap on it and the Transfer Foils. Well, technically, I guess that's 3, but I always have my No Clog Writing Cap on my bottle of the Best Glue Ever, lol! Here's my layout:
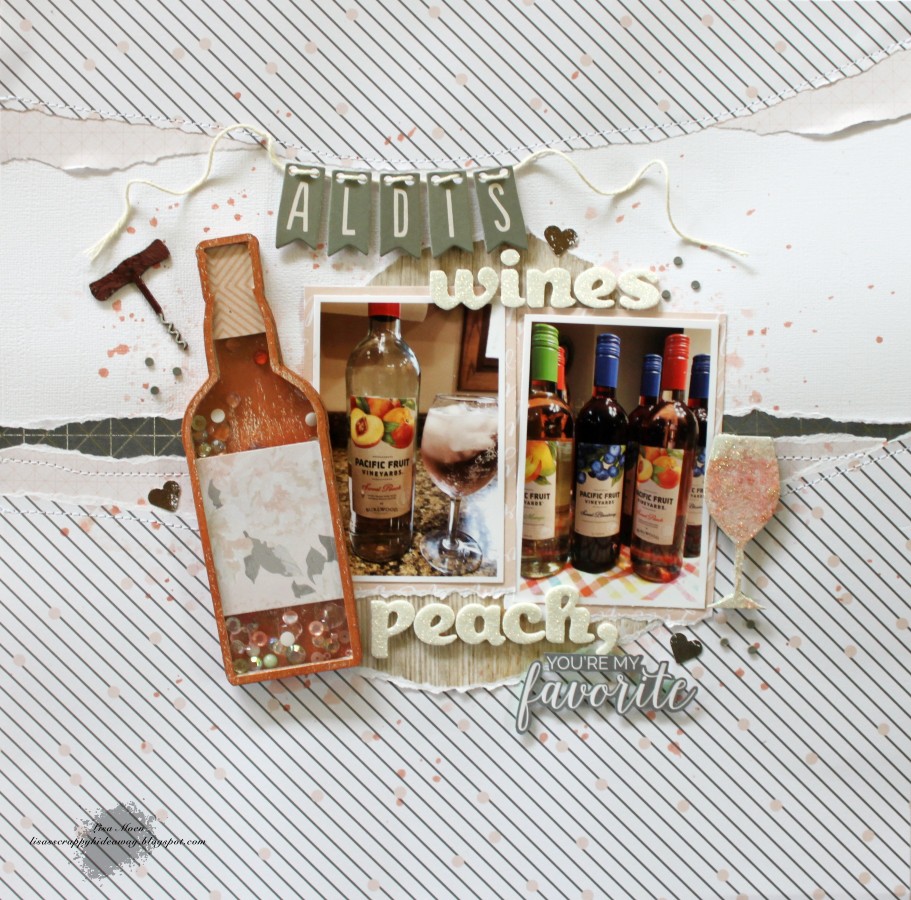
   

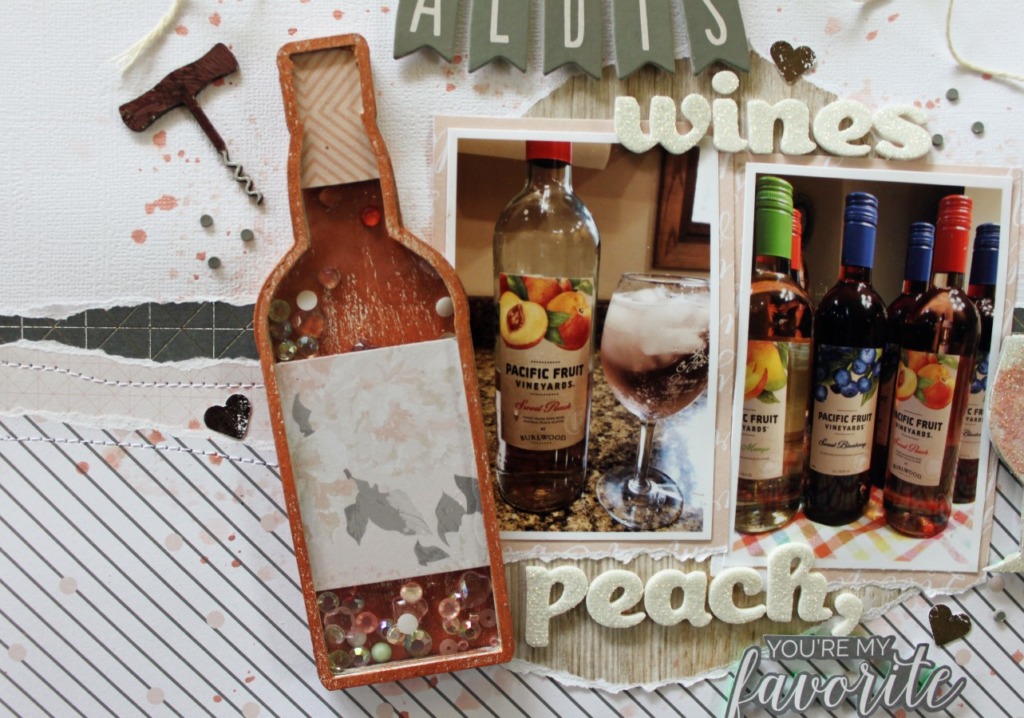
 I used white cardstock as my background and added some Park Lane papers along with some machine stitching. I added some watercolor to my background.  I used Thickers from my stash and added some Whisker Graphics Twine to the banner ones: 
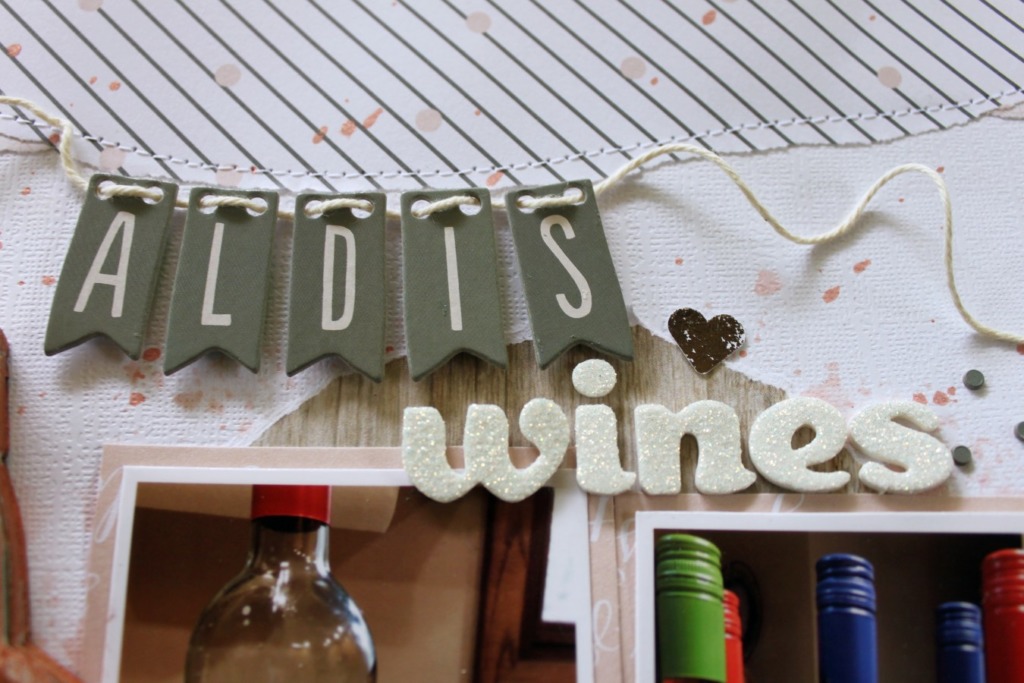
   

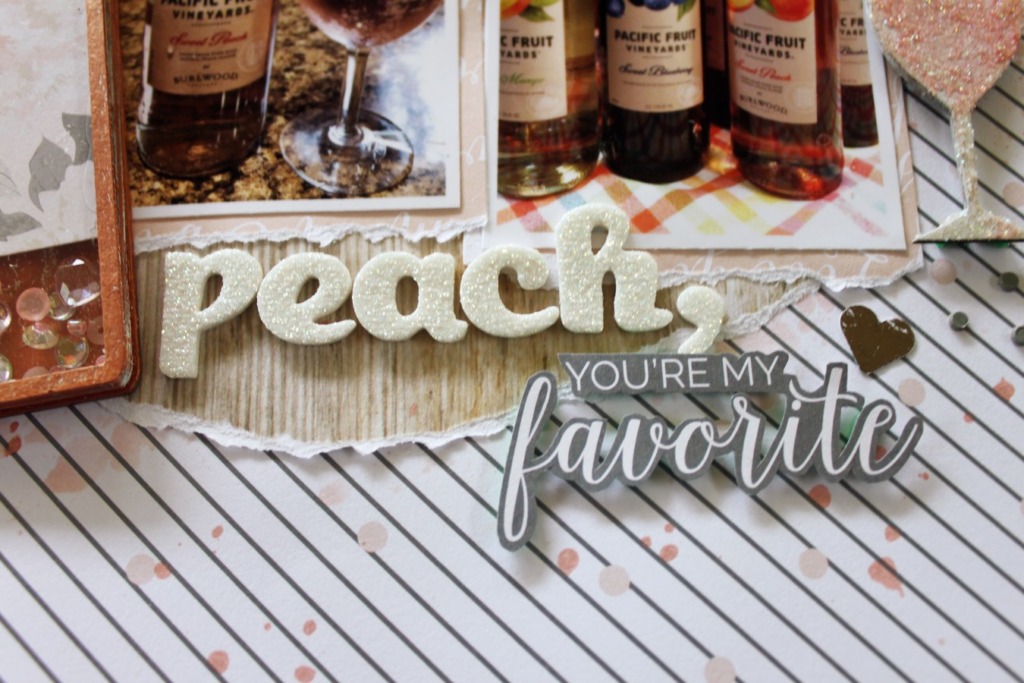
 I fussy cut the "you're my favorite" from one of the papers and then popped it up on craft foam and adhered it using the Best Glue Ever. I added the Silver Transfer Foil to some white cardstock and then punched a few hearts and added those to my page. See my tutorial on the ScraPerfect blog:
   

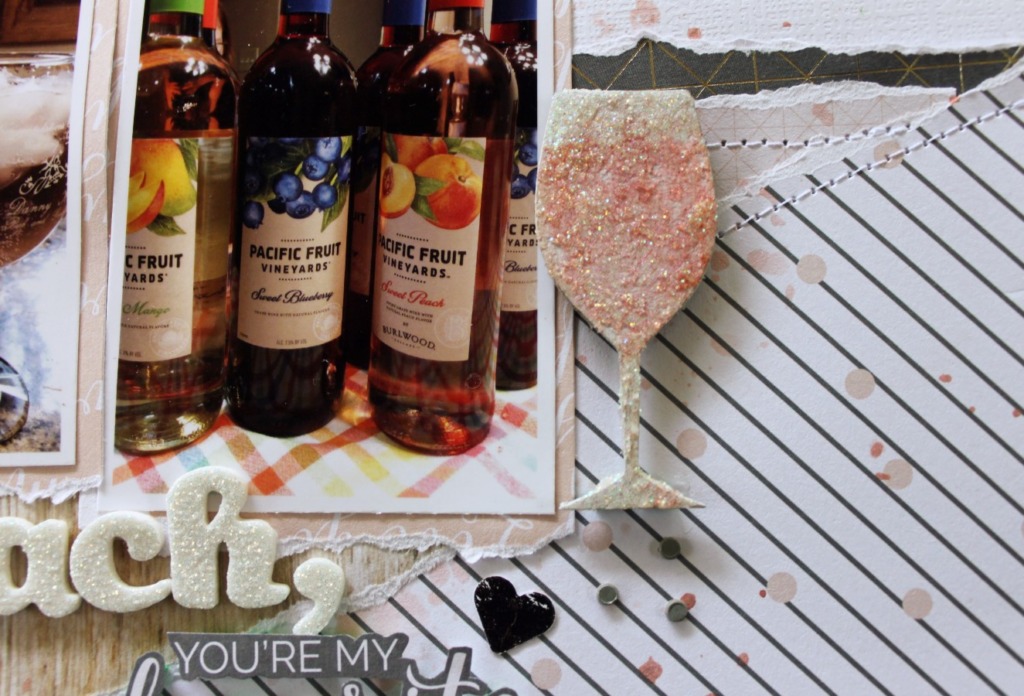
To the Wine Glass, I added some white Gesso and BoBunny Sugar Glitter Paste and colored it with a Lindy's mist:
   

 I used mists and a Nuvo Glitter Marker to color the Creative Embellishments Corkscrew. The Wine Bottle Shaker is also from Creative Embellishments. I added a coat of white Gesso to the base and sides of the shaker. Then I rubbed Nuvo Mousse on the base and top piece. I glued the 2 bottom layers of the shaker to the base using the Best Glue Ever. Then I added my shaker items- Sparkletz from Button's Galore and More. Finally, I added the shaker plastic and top:
   

 Love it! I hope I have inspired you in some way today! I would like to thank Amy for letting me share my work over there. Thanks Amy! Thanks for stopping by and have a great day!

Friday, February 5, 2021

Home Decor Snowflake

 Hey there crafty friends! Today I am sharing another home decor piece that I created for Creative Embellishments. This time I used the Snowflake. The snowflake is cut from birch wood and is 3/16" thick. Here's my project:


I added a layer of white Gesso to the Snowflake. Then I added white acrylic paint. Once that was dry, I added Liquitex Glass Beads. Right after I applied the glass beads and it was still wet, I sprinkled the entire snowflake with DoodleBug Designs White Sugar Coating that I have had in my stash forever. I let it dry overnight.


Now the Snowflake was ready to add embellishments. I added Gesso to the Large Snowflake Set, the words "frosty" and "snowflakes" from the Snow Word Set and Chipboard Snowflakes. I added BoBunny Glitter Paste to the smallest snowflakes to give some dimension. Then I sprayed them all with blue mists. Once dry, I stacked them and added some shiny blue fibers underneath. I used ScraPerfect's Best Glue Ever to adhere:


 I added a Distressed Snowflake Flair to one of the large snowflakes. I also added in a few stickers from Echo Park. Here are the words from the Snow Word Set:


 I made a bow from some sheer ribbon I picked up at the Dollar Store and placed some snowflakes in the middle:


Although it's hard to see in the photos, this piece has lots of sparkle to it. I had a blast creating it and hope I have inspired you to try a home decor piece. Thanks for stopping by and have a great day!

Friday, December 27, 2019

My Final ScraPerfect Post

Hey there!
I am here today with my final post for ScraPerfect. Before I get to the layout I created for today, I would like to thank Amy, the owner and Penny, who organizes the design team, for letting me share my love of the ScraPerfect products these last few years. Thanks girls for all you have done!
Ok, now onto my layout....


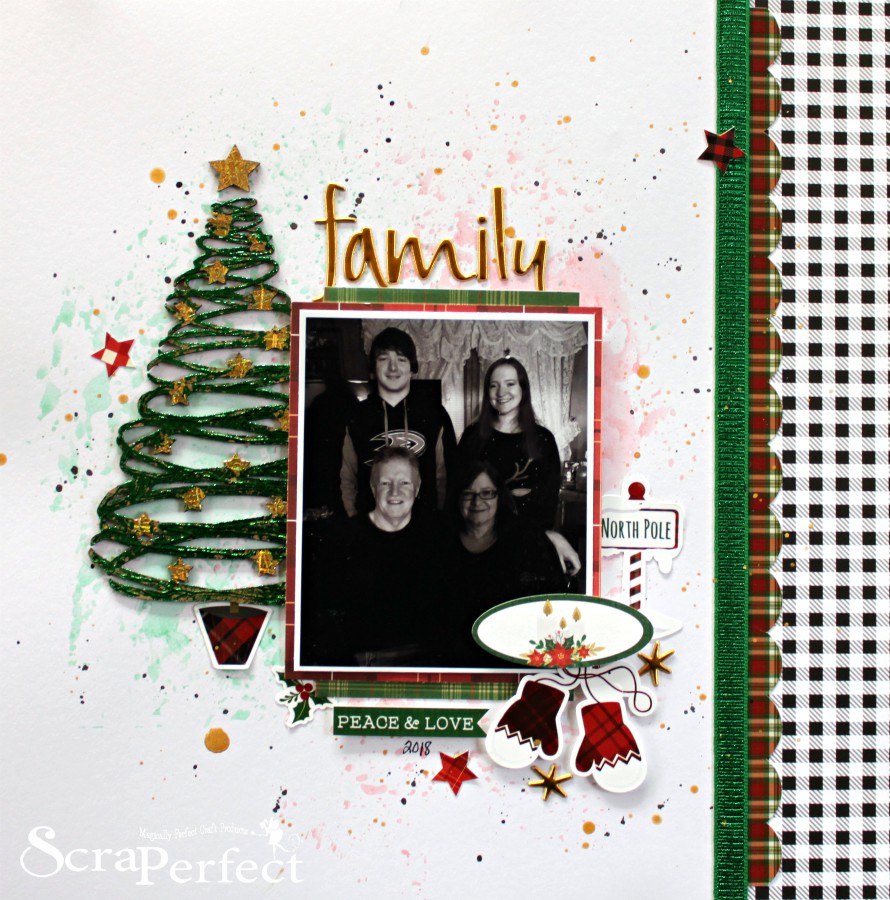
I used PhotoPlay Mad Plaid Christmas along with the chipboard Spiral Tree from Creative Embellishments and place a dot of the Best Glue Ever in the stars on the tree. I used a paint brush to spread the glue around. I let it sit until the glue is clear (notice it is white after the application). Depending how thick you apply it, determines the dry time. Since, my layer was very thin, it took about 10 minutes.


Place a sheet of Transfer Foil, foil side up, on top and burnish the areas where the glue is:


This is the result. Next I added a thin layer of the Best Glue Ever to the rest of the tree. Again I let it dry until it was clear:


I placed a green Transfer Foil sheet on top and burnish it using my fingers:


Here is the end result. I love all the shimmer the foil adds!


While waiting for the glue to dry in the above steps, I created a border on my layout. I ran a thin strip of the Best Glue Ever along the edge of the border. Once again, let it dry to a clear state. The clear state, is like glue dots but only in a strip. Easiest way to add ribbon or trim to your project.


I added ribbon to mine. Finally, I added a few embellies to my page:


Thanks for stopping by and have a great day!


Friday, December 13, 2019

Christmas Cards for ScraPerfect

Hey there!
I am back to share some simple Christmas cards with you using ScraPerfect products and scraps of paper from the Cocoa Vanilla Tis The Season collection:


I used the green patterned paper on both cards and then added scraps and machine stitched them together. 
I used the Best Glue Ever with the No Clog Writing Cap attached to add dots of glue to the snowflake diecuts:


To add dimension to my cards, I add craft foam to the back of my sentiments. I use the Best Glue Ever to adhere it to my card: 


I place a dot of the Best Glue Ever to the center of the snowflake diecuts:


Then place an enamel dot on top of the glue using the Embellie Gellie. This tool makes placing small embellishments really easy:


Thanks for stopping by and have a great day!


Wednesday, November 27, 2019

How To Jazz Up A Diecut

Hey there friends!
I am back to share a fun way to jazz up your diecuts. 
Gather your supplies:
I used the Best Glue Ever with the No Clog Writing Cap attached, Foil Transfer Sheets in gold, silver and red and a premade diecut from Fancy Pants:


I added the Best Glue Ever to the ornaments on the tree. I then took a paintbrush and spread it out evenly. Notice the glue is white:


I let it dry for about 10 minutes while I created the base of my card. Once the glue was clear (this means it is dry, but still tacky) I placed a sheet of the  Transfer Foil over the ornement I wanted that color. I used my finger to rub or burnish it:


Pull the foil sheet off and you have sparkly ornaments:


I fussy cut some of the white border off the tree and my sentiment. 
Here's my card using Fancy pants Cottage Christmas:


I popped the sentiment up with craft foam and love using the Best Glue Ever to adhere it to my card. I never have to worry about it coming off:


Hope this gives you some idea how to add a little sparkle to your diecuts!
Thanks for stopping by and have a great day!


Wednesday, November 13, 2019

A Foiled Sentiment

Hey there friends!
I'm back to share a fun technique with you- foiling chipboard!
I used Fancy Pants Cottage Christmas for this fun Christmas card:


I added the Best Glue Ever to the front of the words using the No Clog Writing Cap attached:


I spread the glue around using a paintbrush and let it dry until it was clear. The glue is still tacky:


Place the Transfer Foil sheet on top of the glue, foil side up. Rub with your finger. You can usually see the shape underneath:


Here's the outcome! I love it! So sparkly and perfect for a Christmas card!


I usually run the Perfect Crafting Pouch over both sides of the chipboard to remove and sticky residue the glue has left behind:


I adhere the sentiment to my card by using a few dots of the Best Glue Ever:


The Best Glue Ever is also my favorite for adhering diecuts popped up on craft foam to my projects:


Here's a close up of my card:


Thanks for stopping by and have a great day!


Sunday, October 27, 2019

Sympathy Cards

Hey there!
I am back to share a few simple and fast sympathy cards with you that I created for ScraPerfect.
 I used the Best Glue Ever to put these cards together:


I created 2 cards:
I used a white card base and added a piece of colored cardstock slightly smaller than the base. Next I cut a piece of white cardstock slightly smaller than the cardstock. I added Distressed Oxide Inks and a bit of water to a piece of plastic packaging and smooshed it to the white cardstock. I did this with 2 different colors. Once it was dry, I adhered the layers together using the Best Glue Ever. I diecut the sentiment from the same cardstock and used the Best Glue Ever to adhere that as well.


Finally I added a small Paper House puffy sticker.
Here are the cards individually:


I love how fast and simple these were to create!
Thanks for stopping by and have a great day!
Sunday, October 13, 2019

4th of July for ScraPerfect

Hey there Friends!
I created this fun 4th of July layout using some ScraPerfect products along with Bella Blvd. All American:


Here's how I made the foiled stars:
I diecut the stars using my Cameo. I added a drop of the Best Glue Ever:


I spread the glue around using a paint brush, rinse the paint brush immediately:


 Let the glue dry until it is clear (it's white when you put it on). When it is dry, it will be tacky. Place the Transfer Foil, foil side up, on top of the stars and rub with your finger. You will be able to see the outline from the stars:


Peal the foiled stars off. I love using textured cardstock for this technique as it gives a distressed look:


To remove any stickiness left by the glue, I take the Perfect Crafting Pouch and just run it over the stars:


Here are a few close ups:
I  fussy cut the hearts from one of the papers and added stickers. I added a layer of patterned paper behind my photos and used a card from the collection to add between my photos. I used alphas from Bella Blvd, as well and added some machine stitching:


I added another sticker, a piece of chipboard and my journaling here:


Thanks for stopping by and have a great day!