Monday, December 26, 2022

A Christmas Story

 Hey friends!

I hope you had a wonderful Christmas filled with family and lots of love!

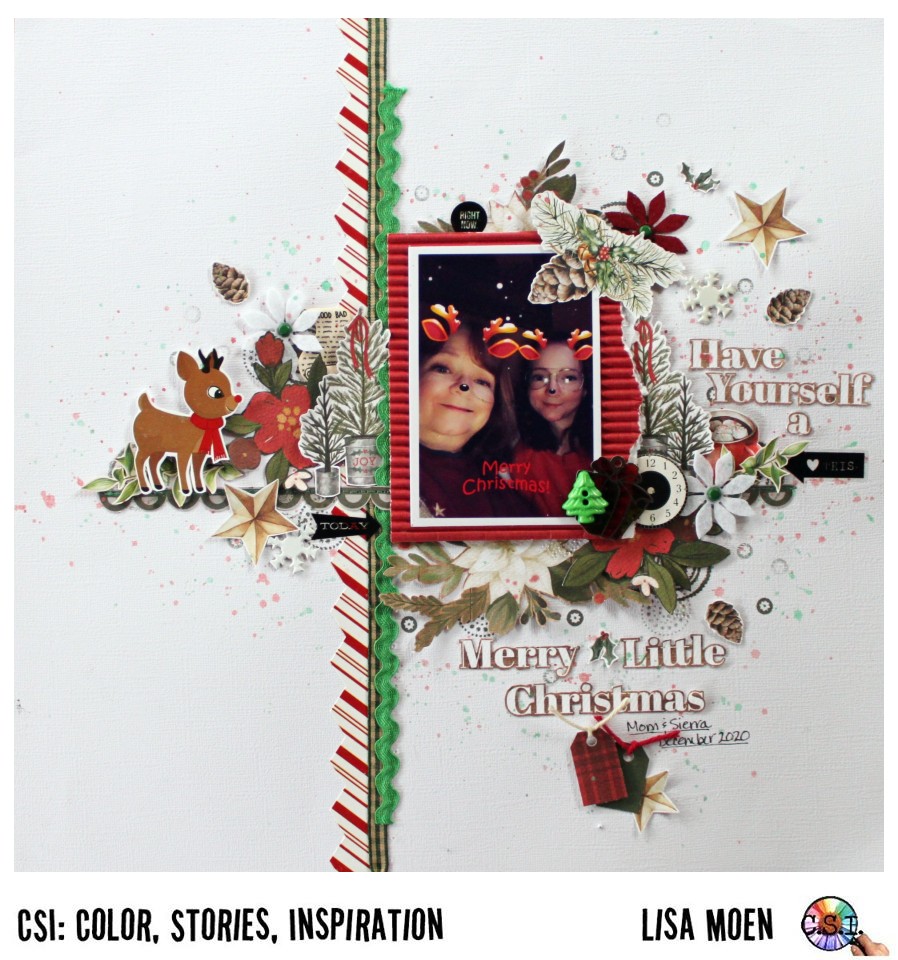
Today I am sharing a layout I created using the December challenge at Bramble FoxAntonia's fun challenge this month is to step outside of your comfort zone. I have always wanted to try making my own bokah background, so I finally did it. I used Echo Park Winter Magic along with some fun BF perspextives for this winter page:


Here's a look at the challenge:


I used Fox Cut #30 along with Tumbled Glass, Peacock Feathers, Mermaid Lagoon, Chipped Saphire and Faded Jeans Distress Oxide Inks. I put the Oxide Inks through the small circles on the stencil. Then took a baby wipe and wiped lightly with the large circles. I used a black Sharpie to hilight some of the circles. Finally I added white acrylic paint spatters. I used foam Thickers, fussy cut words, the Story Perspextive in black, stickers and Echo park alphas for my title:


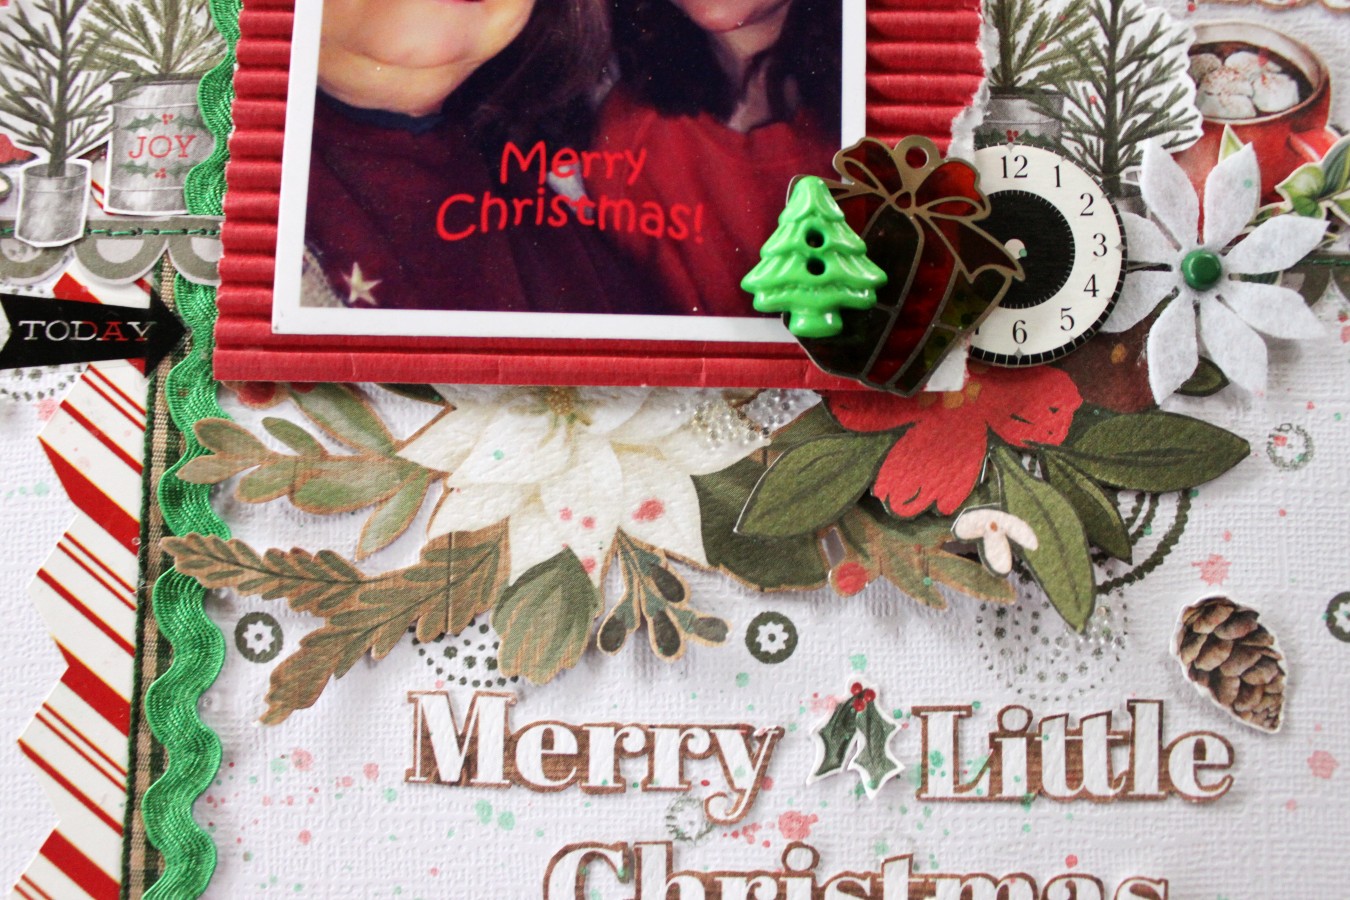
I fussy cut some trees and the sled. I added a Crate Paper clear sticker, word phrase stickers from Echo Park along with the adorable Penguin. Isn't he just the cuteset thing ever?!


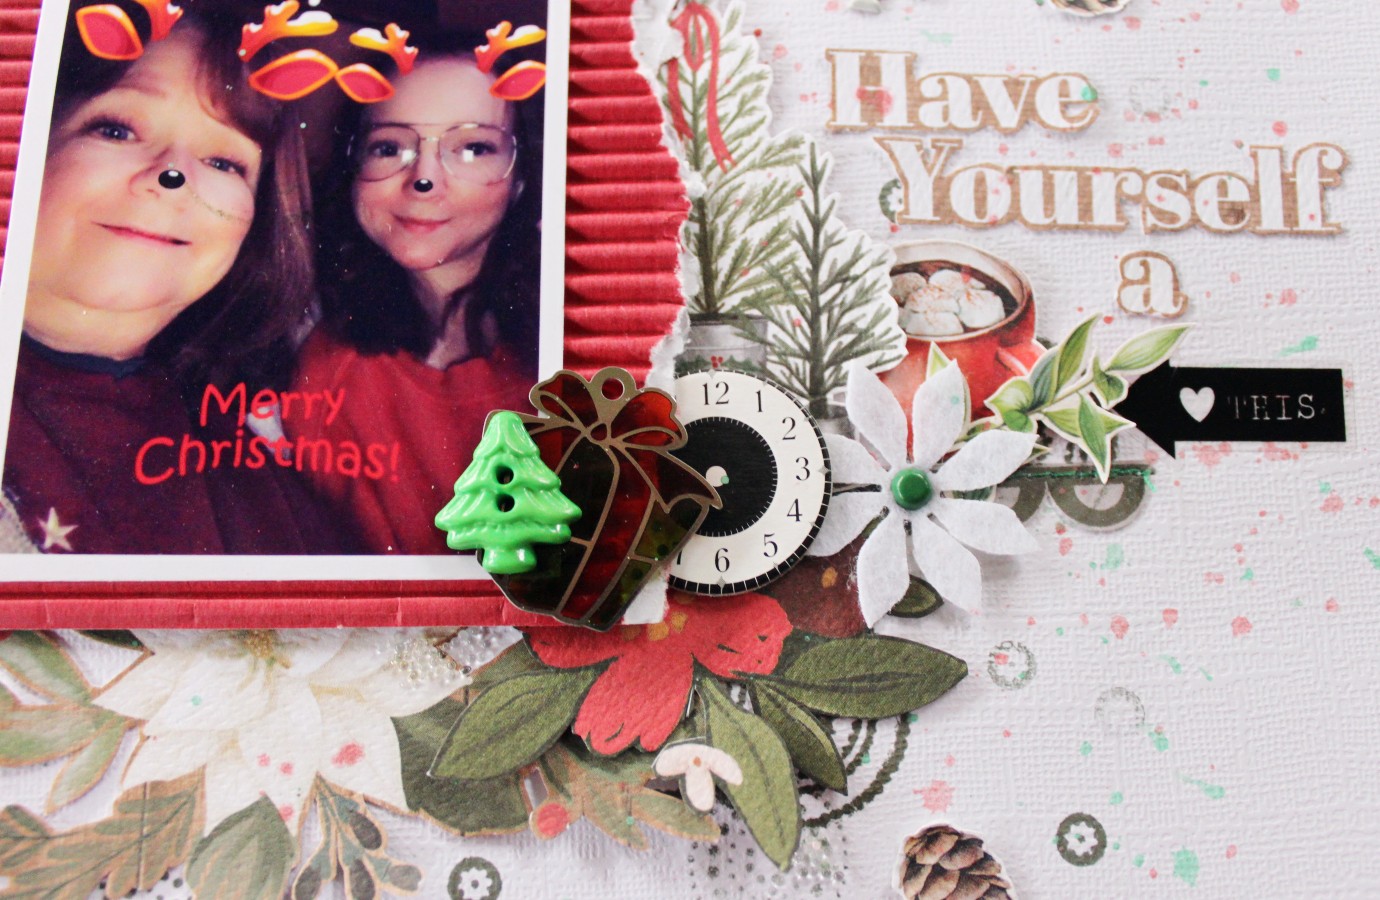
I added patterned papers and tissue paper behind my photos. I fussy cut the snow globes and snowflakes. The clear ones are from Paper House Productions. The blue snowflakes and snow globes were fussy cut from EP papers. I also added an adorable Penguin and a few stickers to each photo cluster:


I am so glad I stepped out of my comfort zone and finally tried this! I love, love, love it!
Thanks for the challenge Antonia!


Saturday, December 24, 2022

Silent Night Card

 Hey there creative friends!

Today I am sharing a Christmas card I created for 88 and Clear using the Farmhouse DigiNext collection along with Sweet Cane Sugar Stock:


I fussy cut the wreath and flowers and added some tangled silver thread under them: 


I love this gorgeous collection!
Merry Christmas to you and your family!


Friday, December 23, 2022

Sunflower Field

Hey there Scrappy Friends!

Today I am sharing a layout I created for Sketches In Tyme using sketch #546 along with Carta Bella Summer collection. The FFA teacher at Auburndale High School, where I graduated from, does so many things with the ag program. He and the students plant a field full of sunflowers every spring. I have been wanting to go check it out, we did and it was amazing!


I added strips of patterned papers down the middle of my page like in the sketch.Then added some maching stitching. I cut a circle from patterned paper and placed that on top, tucking my photos in the middle like the sketch. I added a zig zag stitch with my sewing machine. I used foam Thickers for my title:

I added gesso and acrylic paints to Creative Embellishments Funky Flowers and placed them in the lower left hand corner of my photos. I tucked in some tangled thread and then added the fussy cut flower cart on top along with the flower van sticker from the Summer collection. I placed a word phrase sticker from Teresa Collins on the van:


In the upper right side by the photos, I added a framed sticker with sentiment, some tangled thread and the "you are here" symbol is from Becky Higgins. 


Here is the sketch:


As you can see, I followed the sketch, except I added a few clusters of embellishments.
Looking forward to seeing your take on this sketch!
Thanks for stopping by and I hope you have a wonderful Christmas with lots of family and friends!


Thursday, December 22, 2022

Cherry Bomb!!

Hey there Creative Peeps!
I am back to share a fun layout with you. I used Amy Tan along with some chippies from the Creative Embellishments store:


 I added watercolor to my background using the smooshing technique. I backed my photo with a few papers from Amy Tangerine and popped it up with some craft foam. I added gesso and ink to the Bottle along with a strip of patterned paper. I fussy cut the heart and added a fussy cut flower, a flower sticker and a Wild Floral that I colored with Distress Oxide Inks:


On the right of my photo, I added 3 Shot Glasses that I added gesso and ink to. I also added 2 of the Wild Florals here. I fussy cut the flowers from a store bought card I received:


 I used Cloud 9 Design alphas from my stash for my title. I added a few fussy cut word phrases from one of the papers and added some machine stitching to them. Finally I stamped the date:


This was such a fun and sad night for us at the campground, remembering a fellow camper we lost in a car accident. Thanks for stopping by and have a wonderful holiday season! 

Friday, December 16, 2022

Trimming the Tree

Hey there Creative Friends!
Today I am sharing a Christmas layout with you that I created for Creative Embellishments. Last year I created the Believe home decor piece (you can see that post here: http://creativeembellishmentsblog.com/2021/11/believe-home-decor-piece-with-lisa/) and used it as a large ornament on my tree. The layout I am sharing today are pictures of my tree with the Believe piece in it:  


 I added watercolor to my background. I heat embossed the Star Bulb Ornaments in red and did the bows in gold and then used ScrapPerfect's Best Glue Ever:


I added a few chipboard stickers from MAMBI. I heat embossed 3 of the words (ornaments, garland & tinsel) from the Decorate Your Tree Words and placed them in between my photos:


 I added a piece of the Christmas Light Strand 4 on the lower right hand side. I also heat embossed this:


 I added in a few snowflake stickers from my stash. I added a torn strip of Recollections Holiday Homestead down the left side and machine stitched it:


 This was a fun holiday page to create and I love how it came out! 
 Thanks for stopping by and have a great day!

Wednesday, December 7, 2022

Have Yourself A Merry Little Christmas

 Hey there!

Today I am sharing my take on case file #400 at CSI. I used lots of my Christmas stash for this page of Sierra and I on Christmas Day of 2020:


I used all the evidence of my page from the case file! WooHoo!
I started my page with a border sticker from Echo Park, running it down my page. Next to that, I added in a gingham ribbon along with some ric rac. I placed my photo on corrugated paper from Fancy Pants and popped that up on some craft foam. I fussy cut the trees from a paper from Carta Bella Farmhouse Christmas. I added in the red fussy cut red flowers from CartaBella Hello Christmas. The stars and pinecones were fussy cut from a paper from Mintay Home For Christmas and the leave branches were from Mintays' Merry & Bright collection. I also tucked in a felt poinsettia, snowflake brad, wish list button and some Simple Stories black clear word stickers:


Here I added more of the fussy cut items along with another snowflake brad and a maroon felt poisnsettia. I added watercolor paint spatters and stamping to the background:


I fussy cut the title and mug from papers in the Mintay Home For Christmas collection. I added another felt poinsettia, fussy cut trees and leaves. I fussy cut the white flower cluster from a paper from Carta Bella Farmhouse Christmas. I added in a chipboard clock, the gift and the tree button, all are from my stash. I used RG ink and a stamp from American Crafts to stamp the scalloped border. Then I fussy cut it and added it to my page:


You can see the stamping on my background better here. I am not sure who the manufacturer is of the stamps as these were a gift and it didn't have any packaging. Here's the rest of my titla and some small tags I handcut and added some twine through:


If you look closely, peeking out of the bottom of the photo on the white flower and also on the stamped circle, I have added some beads:


Here's a quick look at the case file, check out the CSI Facebook page to see the evidence and testimony:


Thanks for stopping by and have a great day!


Tuesday, December 6, 2022

Large Christmas Tag

Hey there crafty friends!
I am back to share a beautiful holiday decor Christmas tag with you that I created for Creative Embellishments.  I enjoy creating holiday decor with all the fun large chipboard and wood pieces from Creative Embellishments!
For this project, I used the Large Christmas Eve Tag as the base. I thought about adding faux snow to create a shaker in between the 2 layers of the tag but opted just to add the black snowflake paper from Carta Bella Happy Christmas in between:


 I used inks, Sharpies and Nuvo Glitter Markers to color the tag. I fussy cut some flowers from the Carta Bella collection and added a cluster to the top left. I added ribbon from my stash:


 I love the scene on this fun tag, santa and his reindeer, love it! I also loved the sentiment on this wreath sticker:


 I added bling from My Minds Eye to the tree on the tag. I placed a Whimsical Tree on top:


 I added patterned papers to the presents on the tag. I fussy cut some more flowers and added them to the bottom right corner. I tucked in a few Jingle Bells and tied a ribbon on the larger one. I added the Merry Christmas at the bottom. Finally, I added some white acrylic paint spatters:


This was such a fun project to create and I love how it came out! 
 Thanks for stopping by and have a great day!