Tuesday, February 7, 2023

Lovely

 Hi everyone!

Today I am sharing my take on case file #404 at CSI.

I used all stash for this bright page of Greg and Sierra at Trevor and Kennedy's wedding:


I cut a heart out of white textured cardstock. I traced this heart on another piece of cardstock and then cut it out a little bit bigger. Then I added the ribbons from my stash using tape runner. Then I glued it to the heart opening of my background and machine stitched around the heart. I backed  my photo with tissue paper & sparkly gold paper. I added a photo tab from Pink Paislee, a frame from Crate Paper and the bow is from Amy Tangerine:


Under the photo, I added some white scalloped lace and some fuscia pompom trim. I also tucked in a  from my stash: a flower, grey chipboard circle, miscellanious brads and sequins from Buttons Galore & More along with a few puffy stickers from Pink Fresh Studios. I fussy cut the fish tail banner from cardstock.  I added a flair on top of my photo:


I added a button to the flower and hand stitched it with embroidery floss:


For my title, I used the foam Thicker word "lovely":


Here I added another flair, sequins, brads, a Vicki Boutin label and I also used the Distressed Circle Stamp from Creative Embellishments


I was inspired by the colors and wedding theme. For evidence, I used: diagonal stripes (I used ribbons from my stash to create the stripes), solids, circles, lace, flowers, love/Valentined themed items, puffy stickers, ribbons, sequins, scallops, fish tail banner, labels, gold, tissue paper, brads & flair. For my testimony, I documented something about a wedding and used the word "love".

Here is a quick look at the case file:


Check out the CSI Facebook for the complete case file and to share your layout.
Thanks for stopping by and have a great day!


Wednesday, February 1, 2023

Oh So Happy!

Hey there friends!
I have a layout up on the Creative Embellishments blog today. Sierra and her boyfriend, Felipe went to Niagara Falls on the Canadian side in June. A friend took this wonderful photo of them. I used Echo Park Summer Dreams along with the Ferris Wheel 2 chippy for this fun page:


 I tore a few strips of patterned paper and added that to my white cardstock background. Since I created this page out of town (yes, I take some scrappy stuff with me, especially since Greg was working, lol) I didn't have my sewing machine, so I added some faux stitching with a black Sharpie. I added some watercolor to the bcakground. I used a black Sharpie to color the Ferris Wheel 2  and placed that on my page. I added my photo overlapping the Ferris Wheel 2 a bit:


 I added a few ferris wheel stickers from the Echo Park collection along with some tickets. I added a few pennants I hand cut from patterned papers under the photo. The "life is great..." diecut is from Hip Kit Club. In the lower right corner I added a torn strip of patterned paper. I added the suitcase sticker and fussy cut flowers along with a fabric brad and word sticker from Fancy Pants:


To the left of the photo, I added another ferris wheel sticker from Echo Park and another fabric brad from Fancy Pants:


 I had a blast creating this fun, summer page! I hope I have inspired you in some way. Thanks for stopping by and have a great day!

Thursday, January 26, 2023

A New Adventure Awaits

Hey there friends!

Today I am sharing another take on my recipe challenge this month at Bramble Fox.

I used Fancy Pants On Our Way collection along with a BF stencil, Paper Snips and perspextives for this fun travel page of Greg and I at Lookout Mountain:


Here's the challenge:


I added diecuts and patterned papers behind my photos and then added a Travel Clippie to the top of both of them:


I used Fox Cut #28 along with Oxide Inks to create my background. I also scattered a few Cool Stars and this is the other Travel Clippie:


I added some more stencil work here along with another Cool Star. The "totally awesome" is from Paper Snips #008:


I fussy cut the suitcase, bag and ticket. I added the diecut leaf from Pretty Little Studio, a few Carpe Diem sticker phrases, another Cool Star and the "explore'" and "ticket to adventure" are from the Paper Snips #008:


I fussy cut the compass from one of the papers, added a diecut heart from a HipKit Club kit and a diecut frame from Pretty Little Studios:


I used A New Adventure Awaits chipboard piece from Creative Embellishments for my title. I colored it with Oxide Inks. Love it! The "life is short.." piece is also from Paper Snips #008:


I hope you find some time to play along with us this month, I would love to see your take on the challenge!
Thanks for stopping by and have a great day!


Monday, January 23, 2023

My Happy Place

 Hello there!

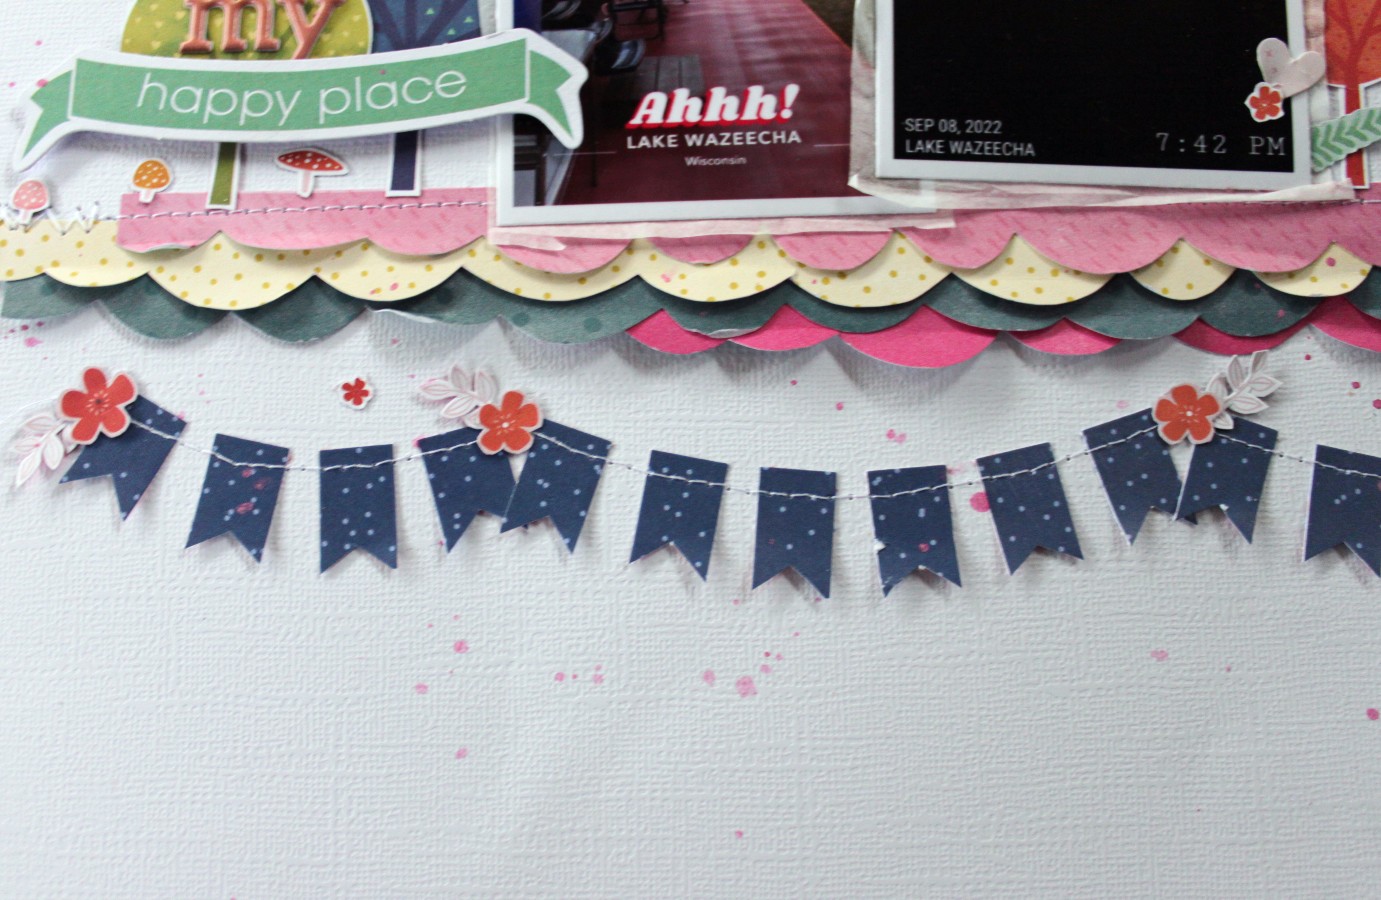
Today I am sharing a layout I created using sketch #546 that Laura Rumble created for Sketches In Thyme. I used Paige Evans stash for this camping page:


I fussy cut the scalloped borders and stitched them on my background. I added tissue paper to my photos and placed them on the borders:


I fussy cut four trees and added one to the right of my photo and the other three to the left of my photos. I used a diecut for part of my title along with some PinkFresh alphas (My). I fussy cut the small mushrooms and flowers from one of the papers:


I created a banner, stitched it in place and then added a few fussy cut flowers:


I added a fussy cut sun with a chipboard heart in the middle along with some cloud stickers that i stitched on:


Here is the sketch:


Friday, January 20, 2023

Let's Go Camping!

Hey everyone!
I am sharing a layout I created for Creative Embellishments. January is here and so is the cold weather here in Wisconsin. It is about this time every year that I am missing summer and my camper. To be honest, I am not a fan of winter- I don't mind the snow, it's the cold that I don't like. Today I am sharing a layout with photos we took while hiking with friends at a new campground we stayed at this last summer. I used chipboard from the store along with Echo Park Let's Go Camping collection:


 I added a few cards that I cut from one of the patterned papers and my photos to my white cardstock background. Then I used brown ink and the Distressed Crackle Stamp and added some stamping around the page.I fussy cut the trees, moose and banner. I popped up the camper diecut on foam to add some dimension. I also added in a few tags. I used inks to color the Compass and Tree Ring:


 I added the Sign Post that I colored with inks to the left of my photos. I fussy cut the trees, tent and bear:


 I cut a few of the Tree Rings that I inked and placed one at the top, one on each of the sides and one at the bottom of my page:


 I hope I have inspired you in some way today. Thanks for stopping by and have a great day!

Thursday, January 12, 2023

In The Garden

Hello!
Today I am sharing a summer layout with you that I created for Creative Embellishments. 
I used chipboard from the CE store along with Simple Stories Simple Vintage Farmhouse Garden collection for these photos of our garden last summer:


 I used 6 photos on this page. I used the In The Garden chipboard piece for my title:


 I added strips of patterned papers down the right side of my layout and then machine stitched using black thread. I added the word "plant" from the Garden Word Set in between the photos:


 I added some diecuts, fussy cut elements and stickers along with the word "bloom" from the Garden Word Set. I added that cute Garden Fun Figures as well. Isn't he cute?!


Thanks for stopping by today and have a great day!

Saturday, January 7, 2023

Holiday Fun

 Hello fellow scrappers!

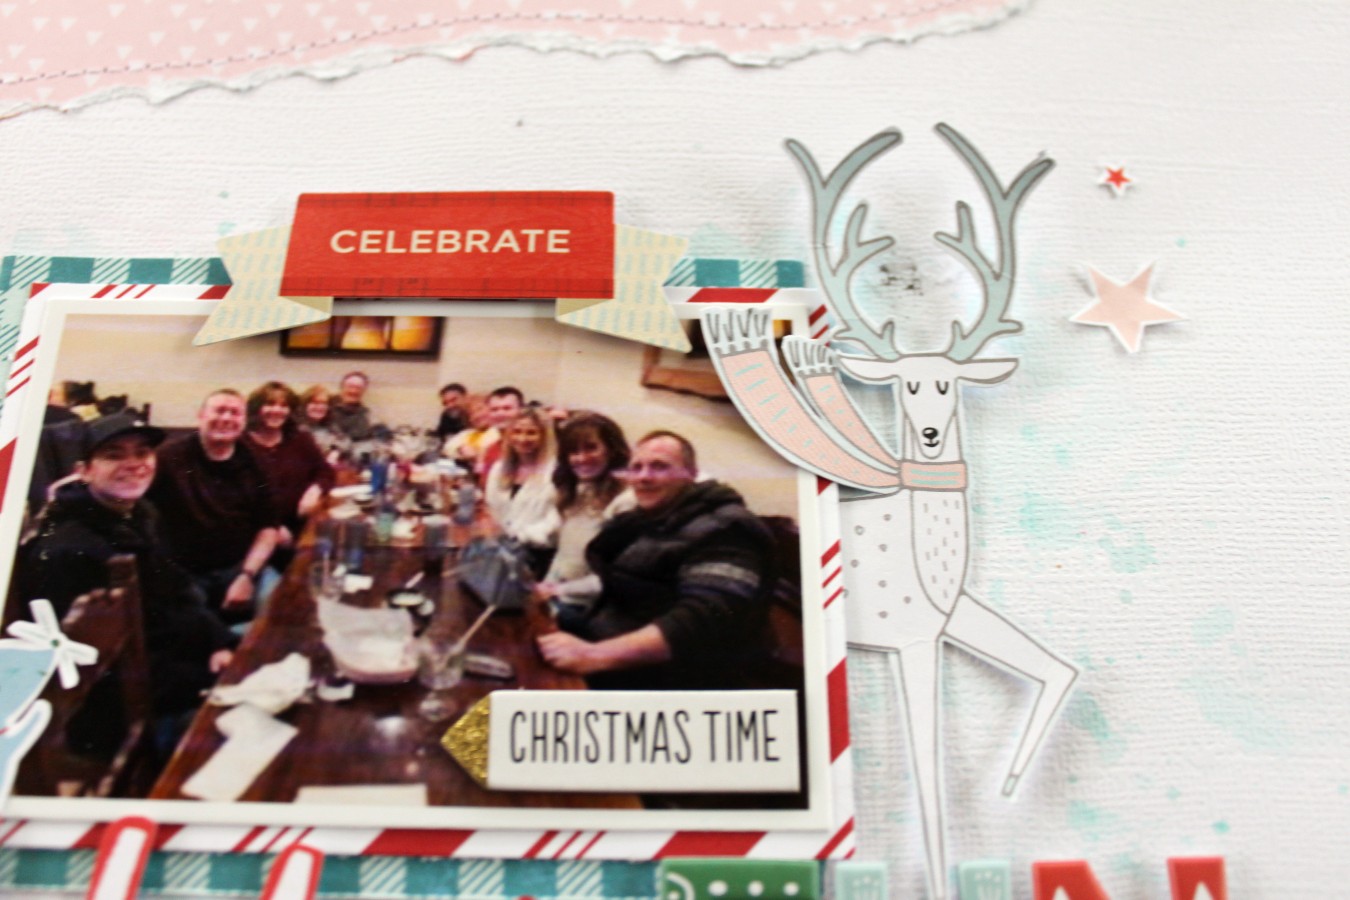
Today I am sharing my take on case file #402 at CSI. I used PinkFresh and Hip Kit Club papers for this page of friends and I celebrating Christmas last year:


I added watercolors to my white background along with the torn strips of pink patterned paper in the corners. I added some machine stitching. I added a few layers of patterned paper behind my photos. I fussy cut the deer, mouse and the word "holiday". The celebrate ribbon is from Basic Grey. I used the  Pinkfresh "fun" word to finish off my title. The "cheer" and white flowers are old rub-ons I found in my stash:


I also added some fussy cut stars. The "Christmas time" is a chipboard piece from MAMBI:


Isn't that mouse just the cutest?


I fussy cut the "so much fun" and the teacup:


I used my fringing scissors to add some texture to one of the papers under this photo:


I created a small winter scene by fussy cutting items from patterned papers. This is a great way to embellies when you don't have them and it's fairly inexpensive as well, lol!


I really enjoyed creating this fun holiday page and I love that I used my stash to do it!
Check out the case files this month, we would love to have you play along!


Monday, January 2, 2023

The Best Is Yet To Come...

Hey there Scrappy Friends! 
I hope you had a wonderful and safe time ringing in the new year! 
Today I am sharing a fun New Years Eve layout with you. I used Dear Lizzy stash along with some beautiful chipboard pieces from Creative Embellishments:


I added strips of patterned papers down the left side of my page and machine stitched. I added a strip of the black and white striped down the right side and machine stitched that as well. I popped my photos up on craft foam and inked 2 of the Nested Stars, backed them with patterned paper and added one to the side of each photo. I added gesso and Distress Oxide Ink to most of the words from the New Years Word Set and placed them above, between and under my photos:


 I tucked in a few Tim Holtz word phrase stickers:


 I added two of the Shine Flair in Silver, one here and the other to the upper right corner:


I used The Best Is Yet To Come chippy for my title. I added gesso and Oxide Inks to this piece too. I inked another of the Nested Stars and added that to my title:


This page came together so quickly for me plus I love how it came out! 
Thanks for stopping by and have a great day!   

Sunday, January 1, 2023

Destination

Hey there crafty friends!

Happy New Year!

Today I am sharing a layout and the January challenge I created for Bramble Fox

I used PinkFresh Studios along with some beautiful perspextives for this layout of Sierra:


This month I created a recipe for the challenge:


I added watercolor to my background. I added some patterned papers and some fussy cut flowers. I used the gorgeous Destination Perspextive for my title. I added a Valentine Heart perspextive:


I fussy cut the "oh the places: from Paper Snips #8. I added a subtitle and a puffy sticker:


I added my journaling, diecuts, puffy stickers, a Flower perspextive and the XO perspextive is frome last years January Fox Box:


I also added a butterfly perspextive:


I had a blast creating this page!

I hope you are inspired by the challenge this month! Be sure to upload your layout in the challenge album in our Facebook Group before January 31st to be eligible to win a gift certificate from the Bramble Fox store.

I can't wait to see your take on this challenge!