Thursday, December 28, 2023

Retired Mini Album

 Hey there Creative Friends!

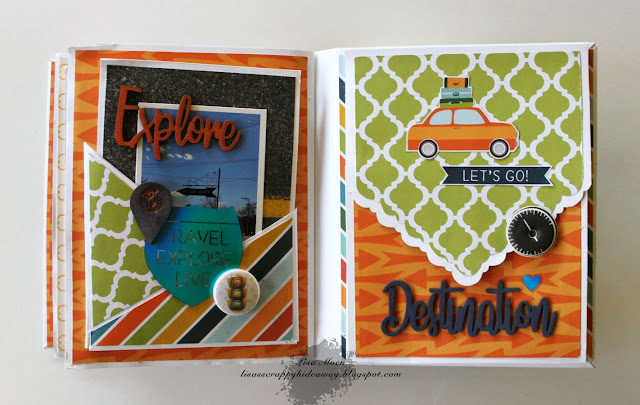
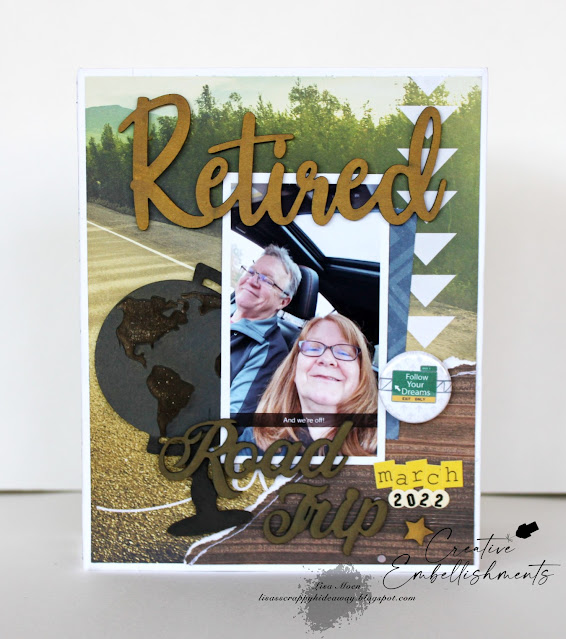
Today I am sharing another mini album I created using Paper House Productions & Creative Embellishments chipboard. I also made the mini album using a tutorial from Bev Code. This album is part 1 of our first trip we took after retiring in December of 2022. 


I decided to add a photo on the cover of Greg and I. It was taken in the car as we were leaving home. All chipboards were colored with inks and/or mists. I used: Retirement Set
and Authentique & Jenni Bowlin alphas:


Page 1: Nashville


Page 1 holds a booklet that opens like this:


Page 2 also has a booklet that holds many photos:


A closer look at page 1:


A closer look at page 2:


A closer look at page 3:


A closer look at page 4:


Page 3's booklet, opened:


Page 3 and 4 both have booklets that hold lots of photos:


Here is a look at page 4's booklet:


Page 5's booklet:


Page 5's booklet, opened:


Page 6's booklet holds lots of photos too:


I put 78 photos in this mini album and there was room for more.
This was such a fun album to create and I will treasure it!
Stay tuned for part 2.
Thanks for stopping by and have a great day!


Monday, December 25, 2023

Merry Christmas Tag

 Hello Creative Friends!

Merry Christmas! Today I am sharing a large tag that I created using lots of  Creative Embellishments chipboard. I used the Large Ornament Tags for my base. I added patterned paper from Recollections to the solid piece of the chipboard tag.


I added white acrylic paint on the outside of the tags top piece and then dry brushed some gold acrylic paint on top. I used a red Sharpie on the Merry Christmas Title piece and then heat embossed it using clear embossing powder:


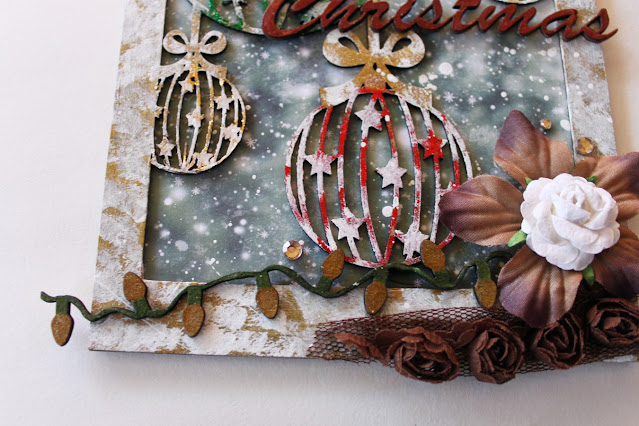
I used ScrapPerfect Best Glue Ever along with ScrapPerfect's Foil to color the ornaments and add some shine. I wasn't happy with the result- it was too bright- I toned them down by drybrushing white acrylic paint on them. I was happy with that. I added a few flowers and ribbon from my stash. I colored the Mini Lights Strands with markers and then clear heat embossed it. I added one to the top and bottom of the tag:


Here's a look at the second Mini Light Strand. I added the PinkFresh Studios chipboard "Sounds of the Season" to one of the ornaments:


Finally, I finished the tag off by making a gold bow out of ribbon from my stash and I added a few pieces of bling from My Mind's Eye:


This tag is gorgeous and I am happy with how it came out!
Thanks for stopping by and I hope you have a wonderful Christmas filled with laughter and love.


Saturday, December 23, 2023

Grand Ole Opry

 Hey there creative friends!

Today I am sharing my take on sketch #594 at Sketches In Thyme. I used October Afternoon and Pink Paislee for this travel page:


Because I used so many photos on this page, I kept the embellishments to a minimum. I cut 2 strips of Pink Paislee patterned paper and machine stitched them on my layout. I added some watercolors to the background. I added the guitar sticker from October Afternoon. The alphas are both from Hip Kit:


I fussy cut the "dream big" banner from one of Paige's papers:


I added a few diecuts and stickers:


Here is the sketch by Shawn Lahr:
Thanks for stopping by.
Merry Christmas to you and your family! 


Friday, December 22, 2023

Merry Christmas To All!

 Hello!

Are you ready for Christmas?

Today I am sharing a layout I created for Creative Embellishments using Carta Bella Farmhouse Christmas along with some Creative Embellishment chipboard. This photo was taken at my Mom's on Christmas Eve last year with 2 of my sisters, a few nieces, my Mom, my kids and I. 


I added patterned papers to the bottom of the white background tearing the edges and machine stitching them in place. I added my photo. I inked the Christmas Gnomes and added them to both sides of my photo:


I love the Merry Christmas To All chipboard piece and inked it for my title. I fussy cut some shelves from one of the papers and added them to my page:


I also fussy cut the trees and flowers. I added a few stickers to the gnomes hats:


This was such a fun layout to create and I will treasure it since it is the last holiday we will be celebrating in this house. My step dad passed away and we had to sell the house and move my Mom into a memory care unit.
Thanks for stopping by and I hope you have a wonderful Christmas filled with, family, friends and lots of love.

Thursday, December 14, 2023

Advent Calendar #3

 Hi Everyone!

I had a blast creating the advent calendar book so much, that I created another one. I used 2 collections from Echo Park- My Favorite Winter & Winter Magic. I also used lots of Creative Embellishments chipboard. This book will be Austin's:


Here's a side view:


I added white acrylic paint to the larger piece of the Snowflake Page Corner Set. Then heat embossed with Sparkle Embossing Powder. It's hard to see in the photos, but it has glitter and sparkles. I also added 3 Chipboard Snowflakes that I colored the same as the title. I colored the Snowman with white acrylic paint and Nuvo Glitter marker:


I used the White Christmas for my title. I added a layer of white acrylic paint to it. Once that was dry, I colored it with a Nuvo Glitter marker. The upper right snow flake is a Chipboard Snowflake. The other two white ones came with the White Christmas title:


The book opens up to this- 24 boxes with goodies inside them. Plus on the 25th, there is a special surprise. I used the Snowflake Countdown set on the boxes. I colored these the same way- acrylic paint and heat embossed:


Here's a closer look at the left side:


And the right side:


I finished off the book with a few Frosted Blue Acrylic Snowflakes and some MAMBI chips:


I wrapped the special surprise on the 25th in tissue paper, added some ribbon and chipboard:


I hope I have inspirde you to create one of these books. They are so much fun!
Thanks for stopping by and have a great day!


Monday, December 11, 2023

Happy Holidays- Creative Embellishments

 Hey there Creative Friends!

Today I am sharing a Christmas layout of my kids using a paper pad from Recollections and some fun holiday themed chipboard from Creative Embellishments:


I added strips of patterned papers to my white textured cardstock background. Then machine stitched them. I added some watercolor splotches and spatters. I colored the Whimsical Trees with ink and then clear heat embossed them. I added one to each side of my photo, tucking the one on the right underneath the photo:


I used the Happy Holidays chipboard piece for my title. I heat embossed it and placed it on the trees above my photo. I fussy cut the bird and cut snowman:


I head embossed the Prancing Deer and added them to the right of the photo. I tucked in a few fussy cut gifts:


I colored the Mini Light Strand 3 with a Sharpie and a Nuvu marker and then heat embossed it with clear embossing powder. I liked the colors, but wanted to add a shine to it. I fussy cut the snowman and the word blessed:


I added a few word phrases from Tim Holtz. I also added another fussy cut snowman and some gifts:


Thanks for stopping by and have a great day!


Sunday, December 10, 2023

Advent Calendar Book #2

 Hello friends!

Today I am sharing my second advent calendar book I created using lots of Creative Embellishments chipboard along with a Recollections paper pad. I love making these!


Here's the side view:


I added that gorgeous berry paper to the cover and then added the fussy cut tag, which I added ribbon to. I used Nuvo Glitter Markers to color the Tree Outline. I colored the Happy Holidays 3 with a Nuvo Glitter marker. a Sharpie and then added some Stickles to it:


I used Nuvo Glitter Markers to color the Simple Star Ornaments and added that to the upper right corner:


The book opens up to 24 boxes. Each box holds a small treat:


I used the Ornaments Countdown to number the boxes. The ornaments are colored with markers and then I added some RG Dazzling Pat:


I added some MAMBI chips to a few of the boxes. I also added some word phrase stickers from my stash:


I finished it off with a few Mirror Acrylic Silver Star pieces:


I wrapped the special 25th gift with tissue paper, ribbon and some chipboard:


I loved creating this! They are so much fun to make!
Thanks for stopping by and have a great day!